Made by hands, expressed from the heart.

Friday, May 24, 2013

T-shirt Makeover

I wanted a new top to use at the gym, but spending money in outfits it is just not on top of my priority list.
So I grabbed one of my husband's T-shirts, but it didn't looked very flattering to the figure, or feminine.
I remembered a web site with step by step instructions on how to braid a T- shirt, and you can see it here.
So I grabbed some scissors and made his T-shirt mine.
I started by cutting where I wanted to be more fitted (the sides, in the middle of the back, and the shoulders).
Then I braided like the way they showed on the pictures.
I took my own pictures...

...and hope you can see well enough...

...to understand what I am doing.

In the end I tied a knot with a string.
And repeated o the other side, the back and the shoulders.
I also cut the collar of the T-shirt to look more open.

And see the difference in the back.
And now I have a new top.

Monday, May 20, 2013

Evil Dr Hare Cake

Never make the mistake of asking your 4 year- old to make a sketch of his own birthday cake, and promise him you'll make it. So when I got the "project" in my hand, there was a lot brainstorming and Internet research to do. He asked me to make a character called Dr Hare, from this computer game called Poptropica.
First to figure out how to make the figure of this character, and how it would stand up. After a lot of thinking, I decided to make in paper clay, easier to sculpt and paint.
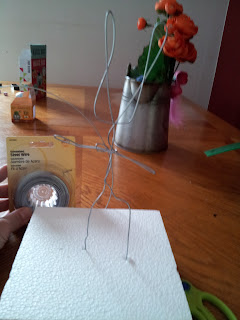
So the first step was to make a wire skeleton, to give support to the body.

Then I started covering the wire with the clay, and shaping the body.

And putting the details on it.

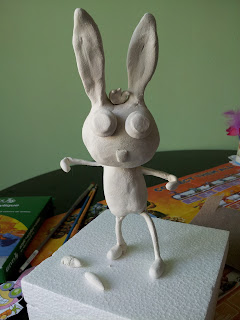
The next day it dried, and I painted with oil paint.

He also asked me to put pictures of the island Dr Hare lives, or goes to, and some of the other villains. So I opened a piece of Fondant, cut a circle with my cookie cutter, and made hand drawings with edible markers.

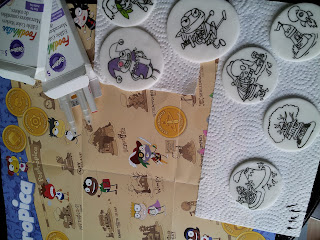
I used a paintbrush to paint, and used gel icing colors diluted with a drop of water.
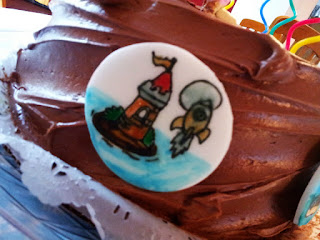
After all this work, I did not want to bake a cake, so my husband bought one from my favorite bakery, Magnolia Bakery. And this is how the cake looked decorated.
.
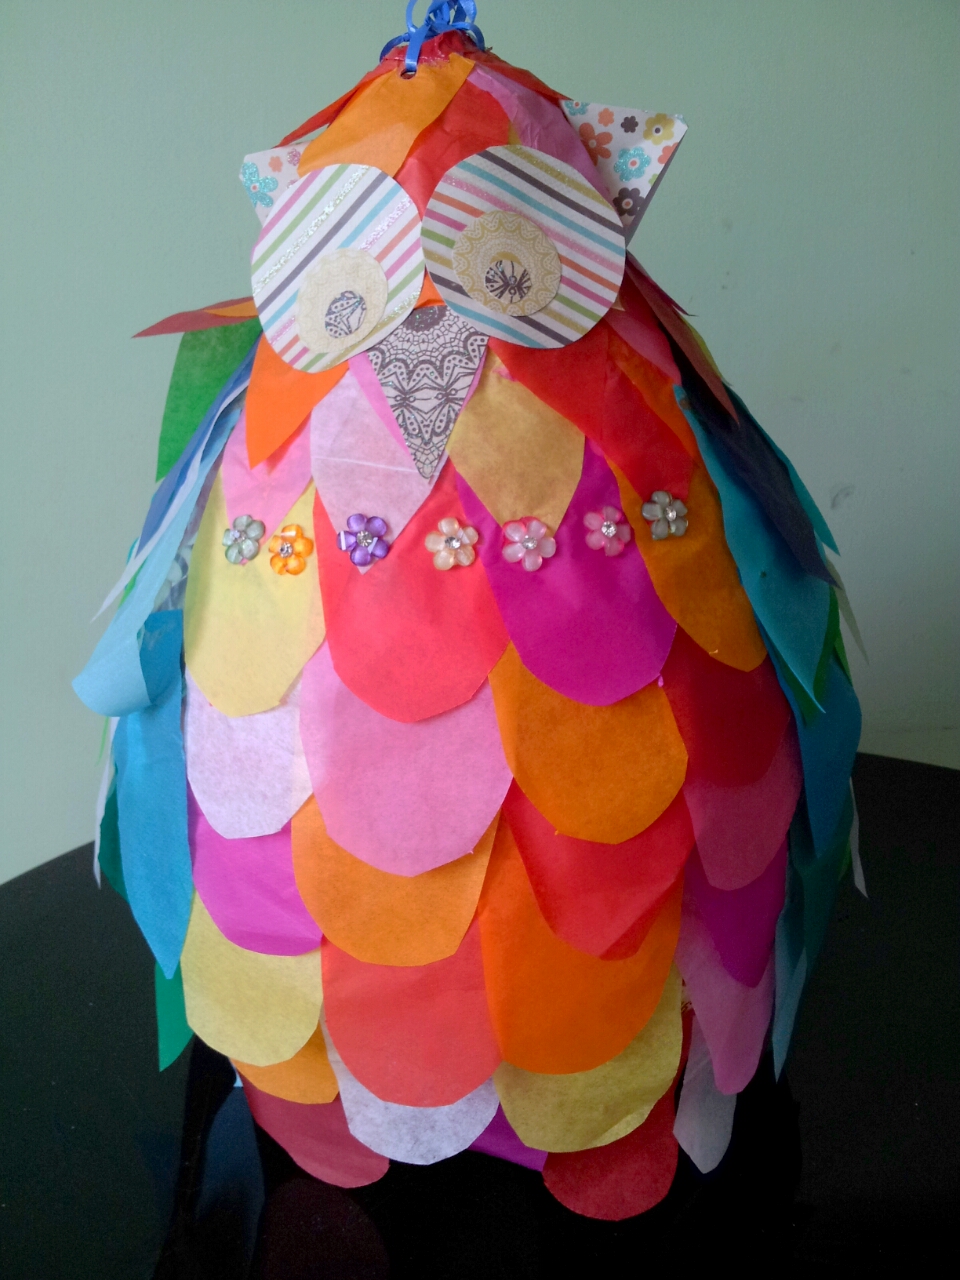
I also made a pinata the same way I did on my last post for the blog, and filled with some chocolate, stickers and little toys for the kids. 
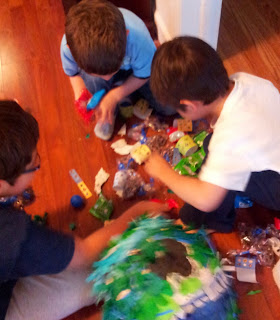
And for a little activity for the children, I bought plain paper bags and stickers, and they made their own party bags.
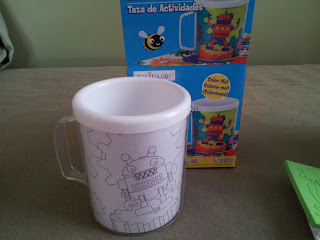
I even found this cute cup at Michaels for $1.99, and the kids could paint or make their own design.
And for drinks, I used small water bottles and decorated with cute buttons and stickers I had.
And that was the end of one more fun day.

Thursday, May 9, 2013

Baby Shower Pinata.

Pressure to have something ready in a few days always help me to get ideas. My manager assistant K2 is having a baby, and by the size of her belly, soon. So I needed something for the baby shower. She told me her baby decorations are owl inspired, and looking everything owl on the Internet, I saw a pinata. And that is what I decided to make.
I followed the steps on Home Made Simple, since I never made a pinata, and never played with one before. It was messier than I thought but easy and cheap to make.
It took 2 days to be completely dry and hard, then I cut some tissue paper and glued around it.
So I covered the entire body of the owl with paper, then used old birthday card paper (they are pretty and colorful) to make eyes, beak and the two feathers in the head (that look like ears). Just one detail, I couldn't fit my gifts inside the hole on the top, so I made a cut in the back part, and didn't even need to close, because the back "feathers" covered it.
I filled the pinata with baby onesies and bibs(bagged in snack bags), chocolates, and a few things I could find for baby and mommy, that would fit the hole I had.
Since I liked this owl so much, and knew it was going to end up being smashed, I made a felt owl, in the same design I made the pinata. So at least K2 could keep something I made for her baby girl, soon to be here.

And that was another happy day, thanks to the magic of paper and glue.

Monday, May 6, 2013

Cake after school.

Incredible how good childhood memories always relate to food, cake especially.
So for after school snack, today we will have cake (I "healthyfied" a little using coconut butter instead of butter, and white whole wheat flour instead of the white flour)- sorry bakers.
The original recipe and idea come from the great blog Dulce Delight, and the videos make it much easier to understand the process. Even though I like craft work, I am still scared of baking from scratch. So watching her making cake (and making jokes), make look more possible in my mind.
Today I tried to use multiple colors for the pattern on the cake. The hardest part is to make small details, and not in all of them I succeeded.
I also skipped cocoa powder, which made the cake pale. So maybe I won't do this next time.
But it was pretty tasty anyway. I will sure try to make more in the future.

Sunday, May 5, 2013

Afternoon Cake

Sundays always supposed to be good days, but especially if it is a beautiful Spring day, AND I am with my family.
To celebrate it, I decided to try this recipe from this awesome blog called Dulce Delight. You can watch the recipes in video, see her making, and have so much fun with it. It is the Heart Patterned Cake Roll episode. I am addicted to watch them.
The only difference was that instead of hearts that she makes, I drew leaves in the pattern, and my filling was make from dark chocolate (instead of the white).
Just a little touch for a special day.