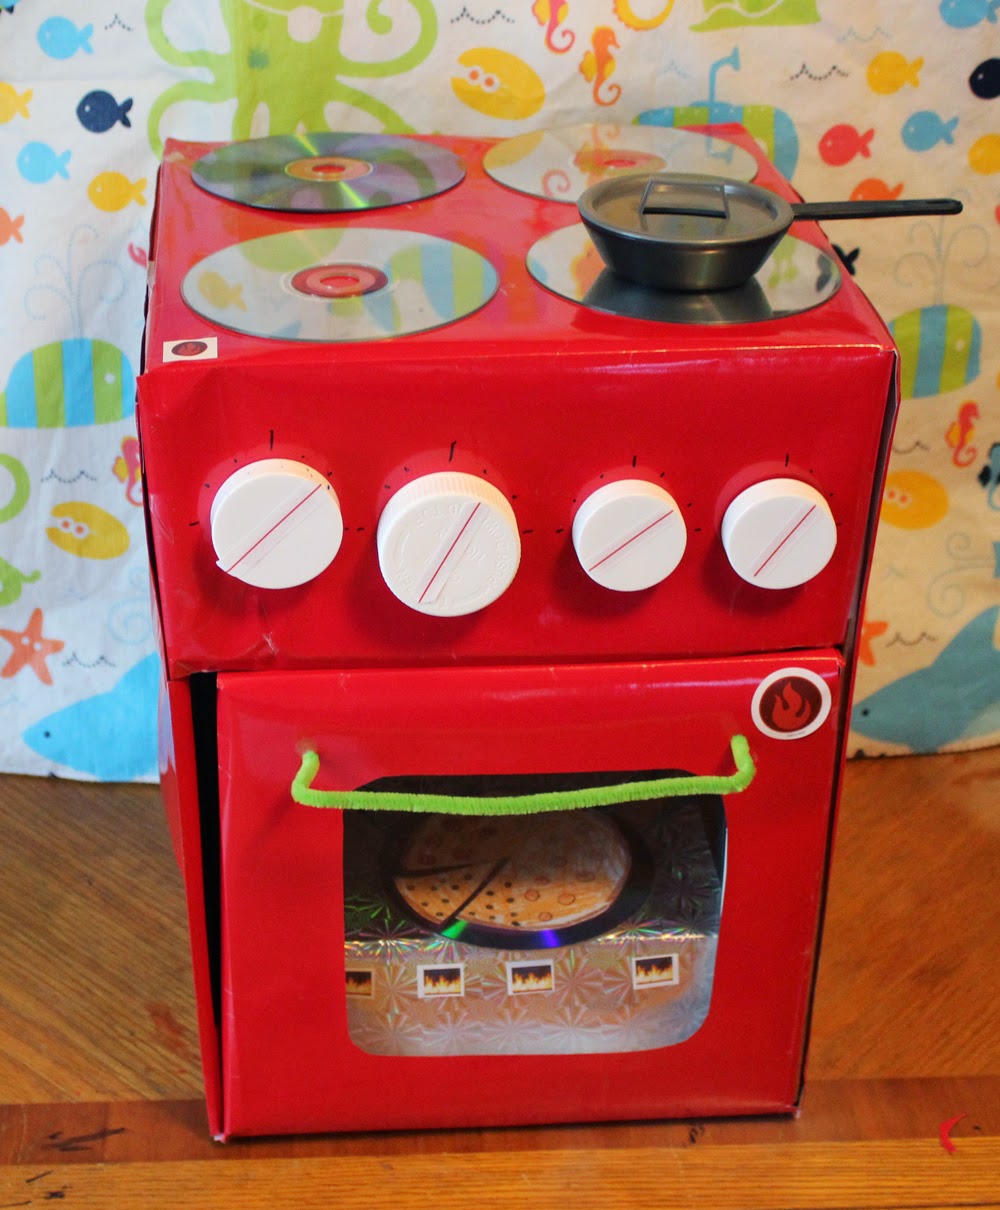
My son has been walking around the house with a cardboard box, pretending it is an oven.
Santa didn't bring one last time, because I didn't want more plastic toys around the house.
That is why I decided to make his box a little more realistic.
So I collected things we had around the house:
- a cardboard box
- a
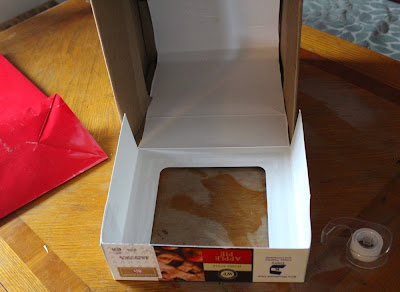
bakery pie box (with a window)
- pipe cleaners
- 4 bottle caps (I used vitamin bottles)
- an old bag or any paper to cover the cardboard
- 4 old CDs or DVDs

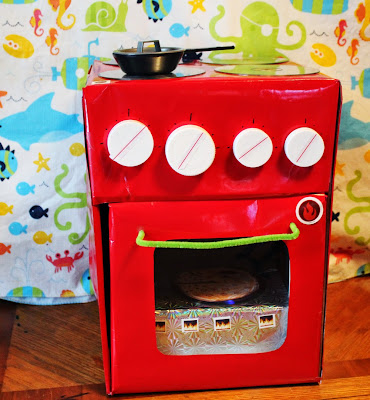
First I attached the the pie box to the bottom of the bigger box to make the oven door. The bottom of the pie box was cut to fit inside the big box.
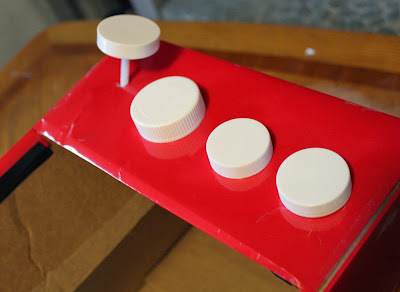
I placed the top flap of the box down, so I could place the burner knobs.

Next I used the red paper to cover the box.

Then one piper cleaner I used to make a handle.

I taped shorter pieces of piper cleaners to the bottle caps to make the knobs.

Then I poked 4 holes on the front of the box, and placed each one to the the holes. The piper cleaner was twisted in the back, to secure the "knob".
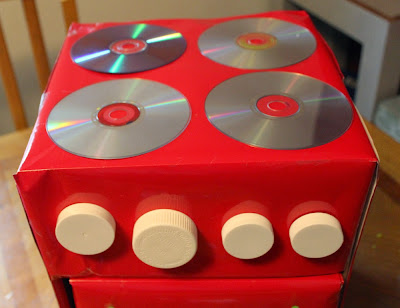
I used 4 old CDs and glued to the top of the box, to make the burners.
We found a cooking pan and some utensils at the
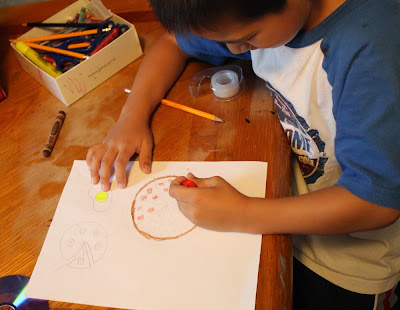
Dollar Tree. And we made some paper food to cook in our stove: and egg and a pizza.


Now his cardboard box looks a little happier, and we spent a few hours together in this project (away from the video games).

I placed also a smaller box inside, to make a shelf for the oven. And some stickers to decorate the stove.
I am not sure how long it will last, but hopefully he will be satisfied with this one.

 Meus filhos estavam super ansiosos para receber a vovó aqui em casa, e levá-la aos nossos lugares preferidos.
Esse fim de semana ela visitou um campo de abóboras, numa fazenda aqui perto, e adorou.
Meus filhos estavam super ansiosos para receber a vovó aqui em casa, e levá-la aos nossos lugares preferidos.
Esse fim de semana ela visitou um campo de abóboras, numa fazenda aqui perto, e adorou.
 Geralmente as pessoas usam essas abóboras de enfeite na casa.
 Mas claro, chegando em casa, dona Marlene nao teve sossego e foi até a cozinha.
Usou uma faquinha, e descascou a abóbora inteira (tanto a casca como o fruto sao muito duros e difíceis de descascar).
Mas claro, chegando em casa, dona Marlene nao teve sossego e foi até a cozinha.
Usou uma faquinha, e descascou a abóbora inteira (tanto a casca como o fruto sao muito duros e difíceis de descascar).
 Quando eu já havia desistido de ajudar, ela cortou tudo em gominhos.
Depois cada pedaço ela cortou em fatias fininhas.
Quando eu já havia desistido de ajudar, ela cortou tudo em gominhos.
Depois cada pedaço ela cortou em fatias fininhas.
 Colocou tudo na panela, com meia xícara de agua, e umas 3(acho) xícaras de açúcar (ela faz tudo a olho e jogou o tanto que achou necessário).
 Pois por uma meia hora, cozinhou em fogo brando, mexeu, picou mais...
 ...até ficar bem cozido.
 E depois de esfriar, eu coloquei num vidrinho pra deixar mais bonitinho.
 Mas o mais importante foi saber que, ela teve todo esse trabalho, mais pra fazer um agrado pros netos... pro filho...e pra nora, claro.
Cozinhar é um ato de carinho, mas ter tanto trabalho pra fazer deve ser um ato de amor... e amor é o que ela mais tem no coraçao.
Obrigado Vovó Marlene.
Mas o mais importante foi saber que, ela teve todo esse trabalho, mais pra fazer um agrado pros netos... pro filho...e pra nora, claro.
Cozinhar é um ato de carinho, mas ter tanto trabalho pra fazer deve ser um ato de amor... e amor é o que ela mais tem no coraçao.
Obrigado Vovó Marlene.