Our elementary school has an International Day every year, and the kids bring a international dish for everyone to try.
Since there is another kid in class who will bring a Brazilian dish, my son decided to represent his Japanese heritage.
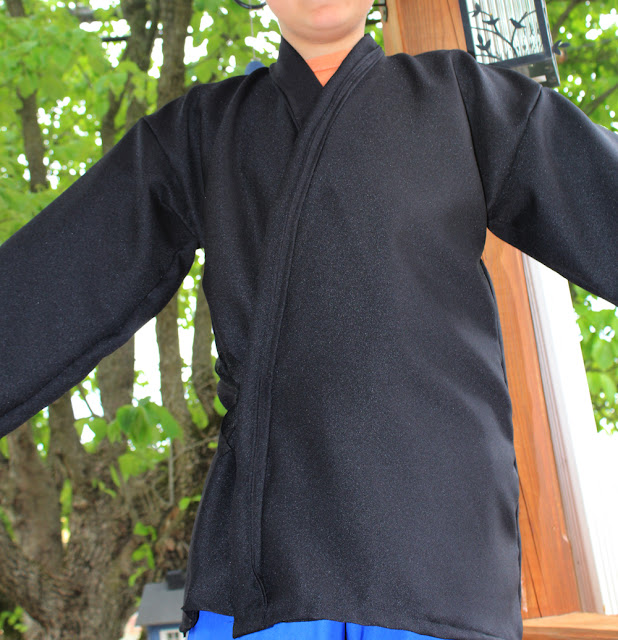
The school also asked if they can be dressed as the country they represent. And that is why I made this kimono.

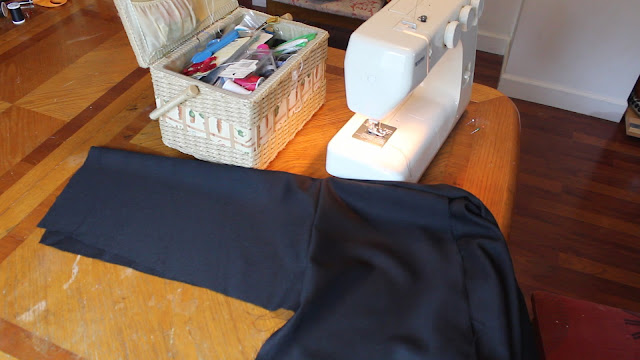
Lucky me there was a nice leftover piece of black fabric(from the dress I made), and it was just big enough for what I needed.
I used his karate kimono to take a pattern.

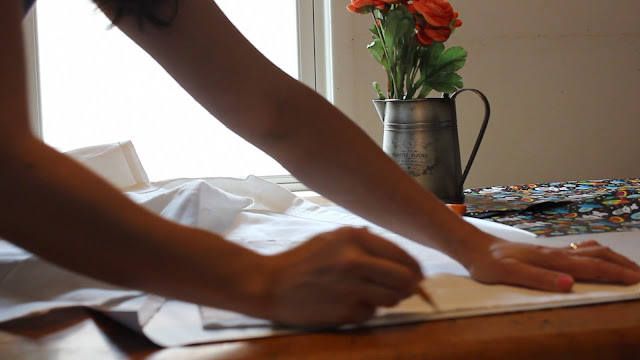
And here sewing the pieces after cutting the fabric.

The kimono was ready and now I could paint.

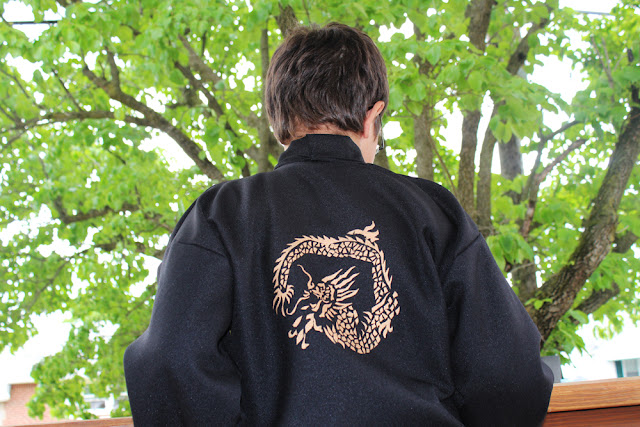
He chose a dragon that I had on my pajamas from Target. So I copied the drawing in pencil, and reinforced with a black marker.

The next step was to transfer he drawing into
freezer paper, shiny side down (very important).

After the picture is all done, I cut all the details with a
Xacto knife.

And carefully cutting all the pieces.

Until it is all done.

With this pattern ready, the scariest part was next.
So this is how I got ready for painting.
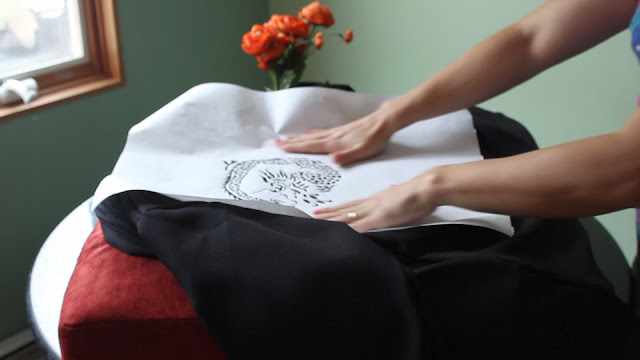
First placing the area to be painted in a soft base. I put the seat from the couch on top of the table. Then the back of the kimono facing up.

After finding a ideal spot to paint the dragon, I placed the freezer paper,
shiny side down..
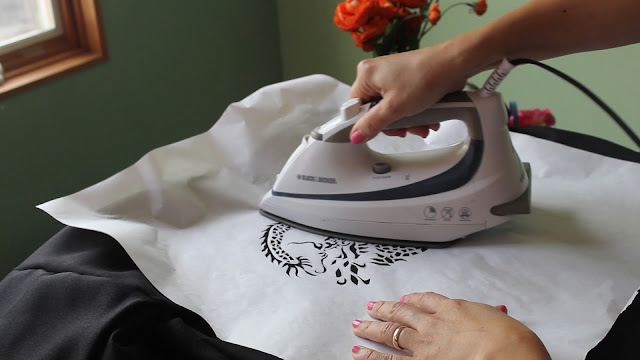
Then using a iron, with a low heat set, I pressed the paper so it becomes "glued" to the fabric.
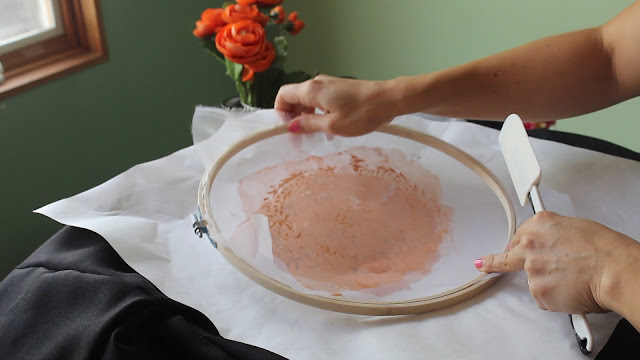
After I prepared my silk screen, which is a
embroidery hoop, with a piece of sheer silk.

Then with the hoop firmly pressed to the paper (see how I also used a heavy book to help me hold the hoop), I started the painting process.

I used a rubber spatula to spread the paint in the entire area (I had to repeat this process a few times).
And finally I could peel off the freezer paper.

It dried nicely.
And it fits well.
 Then I wanted to make a treasure map. So I got some white construction paper and cut in the shape of an old map.
 To make the paper look old, I soaked in coffee for a few hours, until stained.
 And last I dried in the oven at 400F for about 2 minutes, to dry and burn slightly the edges (but not to set the place on fire).
Finally with a fine black marker, I drew a map (or 2).
And last I dried in the oven at 400F for about 2 minutes, to dry and burn slightly the edges (but not to set the place on fire).
Finally with a fine black marker, I drew a map (or 2).
 But if you don't want to go to all this trouble, just download my maps here:
Pirate Map1
Pirate Map2
To make my kids look more like pirates, I made a belt with a skull buckle. Using paper clay, I made the skulls, and a fake buckle.
But if you don't want to go to all this trouble, just download my maps here:
Pirate Map1
Pirate Map2
To make my kids look more like pirates, I made a belt with a skull buckle. Using paper clay, I made the skulls, and a fake buckle.
 Using white foam paper, I cut into swords.
 Glued them together.
 And painted using gold metallic craft paint.
 To make the leather belt, and other accessories, I used different craft papers from Michaels.
 And for a final touch, I found a shell necklace at Party City.
 We had an old pirate T shirt, and I cut the bottom of his black pants.
 It was a fun festival. Hoping to go next year again.


